
I don't know about anyone else, but the thing I hate most in this world is housework. I know - it's a necessity, but if I can find a way of making it easier to do, I follow it. So, in the kitchen, to keep my various small appliances releatively dust-free - blender, steamer, slicer, toaster and food processor - I keep them covered. That cuts down on the dust they collect and means I can be pretty sure I can use them whenever I need to, because - of course - I've cleaned them after use each time!!
About eight years ago, when I was in the patchwork/quilting mode, I used up lots of scraps I'd been collecting while making a larger quilt and made five patchwork covers for the appliances. Because they were quite colourful, I piped each one with a cream straight binding enclosing ordinary household string - we did not live too close to a haberdashery shop at the time, so I made do with what was close to hand. It worked quite well, by the way - and was certainly less expensive than getting the piping to do it! I lined each one with the stuff one uses when making curtains from scratch, and then finished each one off with straight seam binding in a colour that reflected the main one used in the patchwork. It was a sort of wine-coloured binding and worked well. However, after all this time, and several washes in the interim, the covers were beginning to look a little worn out and faded, and needed replacing.
Shortly after we moved here in 2008, one of our neighbours (two unmarried brothers, who are some of the best neighbours one can find) approached me (knowing that I am a sewer) and asked if I could help them shorten a pair of curtains they had inherited when they themselves moved in a couple of years or so before us. Had a look and was able to help them - and in the process inherited the leftovers for any project I might create sometime in the future.
Then I got involved with making toys - first for friends of my daughters, then for one or two folks locally - then I learned about Etsy: and the rest, as they say, is History, after I registered www.coldhamcuddlies.etsy.com. in January 2010 and started listing in September 2010, after building up some stock in the interim.
Then earlier this year, I remembered the green/cream patterned material I'd been given. Found I had just enough material from the curtain-shortening episode to make new covers for the latest generation of appliances in my current kitchen. (Some appliances had had to be replaced after breaking down during the 8 years since I first covered them, and I had boxed and coxed to make the original covers fit the new ones). So, I cut out the material, after roughly fitting them round each item fully intending to complete the project the next day.
However, then came my first Etsy order - very exciting - and since then, I've been fairly busy toy-making both via the shop (www.coldhamcuddlies.etsy.com) plus local commissions and orders via the daughters and friends. My mind was distracted somewhat further when I started this blog, so really the new covers project really did get left on the back-burner - until it became a matter of urgency that the old covers were replaced. So, after my last blog on June 20th, I sat down and got on with the job.
 |
| Cover for the Toaster almost complete |
Probably not the most eficient way of doing it, I got the pieces I had cut out, pinned them round each appliance, then tacked them and machined them. Just to liven them up a little, I got some green straight seam binding, and some piping which can be used to decorate a cushion. I had some black piping already in my sewing trolley, so did not have to buy in new. I placed the piping into the binding, and pinned it so that the piping was in its own tube. Then I pinned the two sides of material together, with the binding in between and machined the whole lot together.
Then I lined them, using the pillow cases in which my soft-furnishing outlet in Frome, Somerset, pack the polyester fibre I use for stuffing the toys - again, pinning round each appliance (and the cover), sewed the lining together and fitted both bits over the appliance. Finally, I've completed each cover by making a hem with plain white binding. I think the final product looks quite smart - and it certainly lightens up the kitchen a great deal! However, time will probably prove that white straight binding is not necessarily the most practical colour to have chosen for the job! It finishes the cover off nicely though!
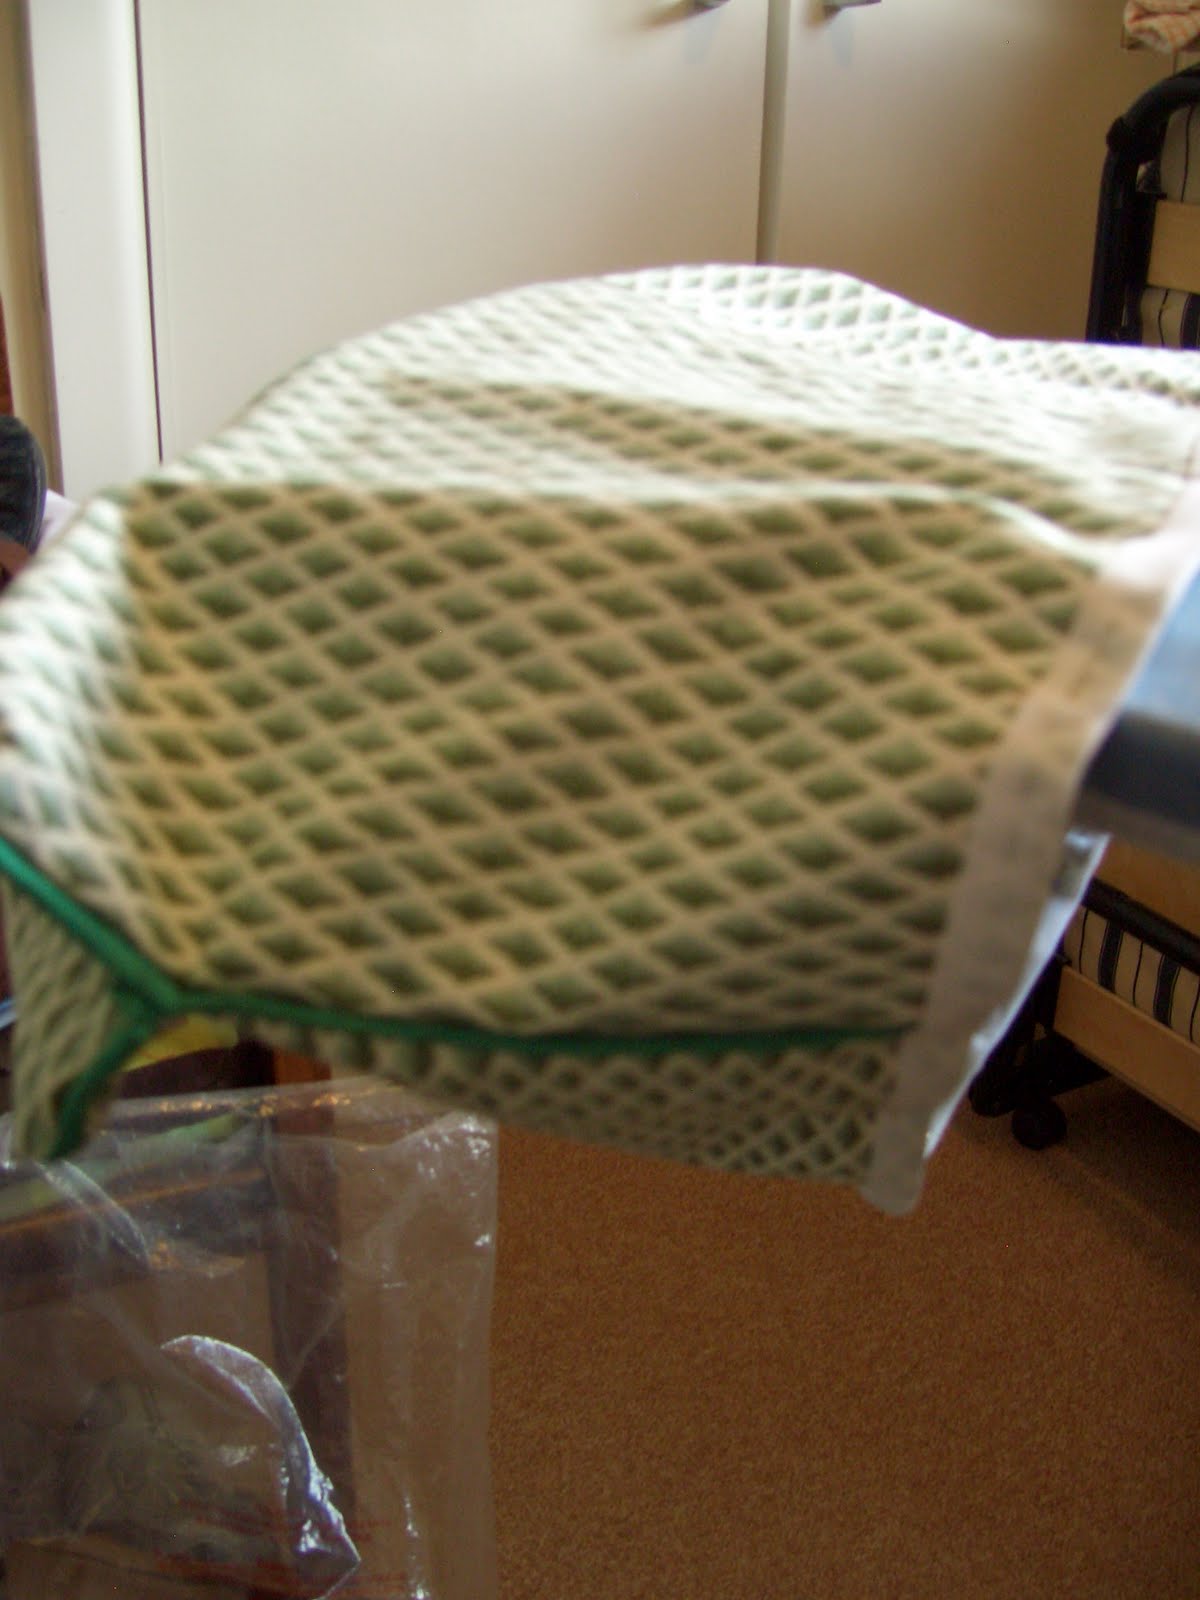
 |
| Lining being placed over cover for the Blender |
Until then - happy days to one and all! Isobel